
Sump and why are they the greatest thing ever for reef aquariums
Let’s talk about one thing in reef keeping that I would never do without: a sump. A sump is a secondary tank into which the water from your main display tank drains. What is it about these things that I find so appealing? Let’s go over some of the benefits.
To begin with, a sump is an excellent location to store all of your equipment.
Scum tends to collect on the top surface of tanks without an overflow, which is a major issue. When water from a main display drains into a sump, the surface is properly clean. Since I mentioned draining, I suppose I should explain how sumps work. The draining is a passive process. It’s not like one pump removes water from the display and another in the sump replenishes it.
Because there is no way to set both pumps to extract and return exactly the same amount of water. One of these two tanks will eventually overflow.
What if you got two of the identical pump, just for the sake of argument? It’s still not working. Pump power varies slightly from pump to pump, and then there are varying head pressures imposed by plumbing. There’s the possibility of algae growing more in one than the other, and so on. In summary, there is only one pump that feeds water into the main tank. Where it subsequently passively overflows into the sump.
Make sure your drainage capacity isn’t exceed by the pump’s return capacity when building a sump system. I go overboard on the drains in all of the systems I have at home. Overflows of the primary display tanks are something I want to avoid at all costs. That includes things like a snail falling into an overflow and obstructing it. Just in case, the drain lines here are 1.5″ to 2″ in diameter.
The third benefit of having a sump is that it gives more water volume. Water volume is beneficial, it allows the whole system to be more stable in terms of temperature and water chemistry. Because changes in bigger amounts of water occur more slowly. In a reef aquarium, nothing good occurs quickly, as the adage goes. Having that additional water acts as a disaster buffer. The fourth benefit is adaptability.
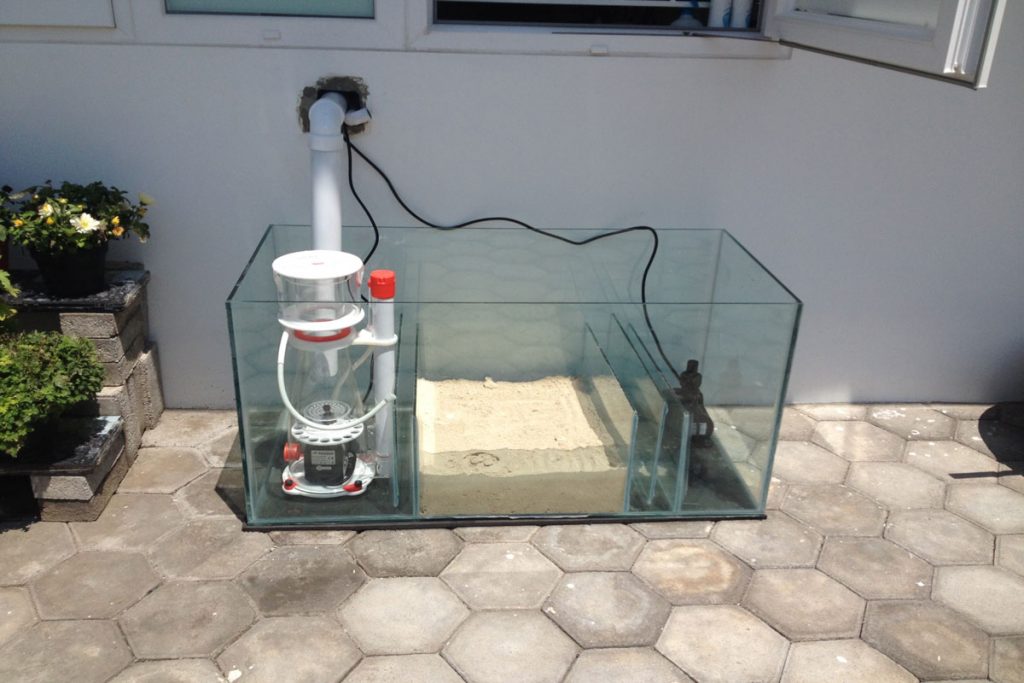
A sump can set up in a variety of ways. Let’s have a look at a high-end sump that one of my friends, Will, is planning to use in a new setup. When the sump is fresh new, it’s much easier to describe all of the individual components. A main filter compartment for a protein skimmer, a refugium, a media compartment, and lastly a filter stage for the return pump are the four sections of this sump. Water enters the sump through two pipes, one near the protein skimmer and the other in the opposite corner near the return pump.
The second drain line is there, and I’m not sure if it’s an emergency or not. The container containing the protein skimmer can seen here. One thing to bear in mind when determining a location for a protein skimmer is that the water level in that compartment should remain consistent. Skimmer performance affected by changes in water level. As you can see, there is a baffle here that maintains the water level consistent.
Once the water has passed through the baffle, it is filtered using a sponge. This is more useful for preventing micro bubbles than for capturing particle waste. Regardless, it’s a good idea to clean these out on a regular basis. The media compartment is the next step. The three media canisters are fed straight from the end of the chain’s return pump.
Activated carbon, GFO for phosphate removal, or a combination of the two are commonly used by aquarists. Will, I believe, has a zeovit reactor in mind for this compartment.
There are also six threaded holes visible, which can be utilized for external reactor hookups or simply plugged when not in use. After exiting the media compartment, the water cascades over another baffle and sponge before reaching the return pump. Will is here with a Blue Line.
A Japanese-made Iwaki pump is my particular favorite. They aren’t energy efficient, but they are workhorse pumps that run indefinitely and don’t pay attention to head pressure. That return pump not only returns water to the display tank. Also to the media canisters and refugium at the sump’s other end. The refugium’s input, which is a spray bar, can seen here. In the event that the main drain fails, there is also an emergency overflow on the opposite end.
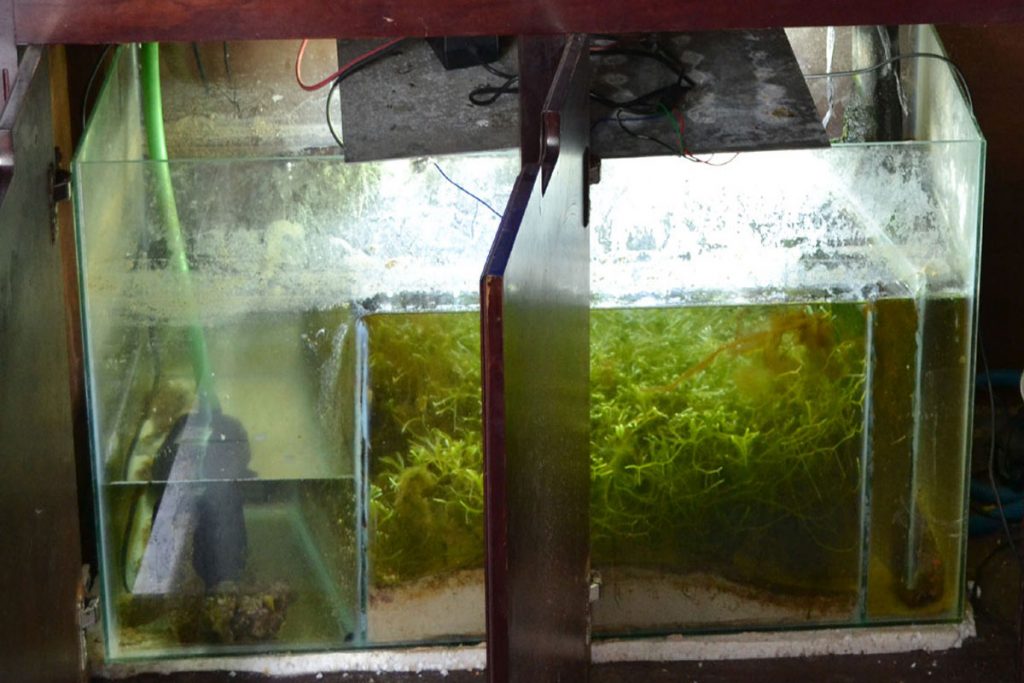
If you’re unfamiliar with refugiums, they protected regions where microfauna and ornamental macro algae may thrive without fear of predators. Various microscopic invertebrates grow and eventually make their way back into the main aquarium, where they can provide as a constant food source. The water leaving the refugium routed past the protein skimmer stage and onto the filter media stage in this particular sump arrangement. There’s a fear that the protein skimmer will remove the critters. Finally, while not technically part of the sump, there is a big water mixing station that will provide fresh water for top-off as well as a continuous water change system that uses dosing pumps.
Mr. X Tank’s sump inspired me to leave one compartment fully empty. It’s difficult to predict what you’ll need in the future. That empty space in his setup was used as a hospital tank for corals in need of space, a breeding fish nursery, and who knows what else.


